
Sage at Whale Cove
18 reviews
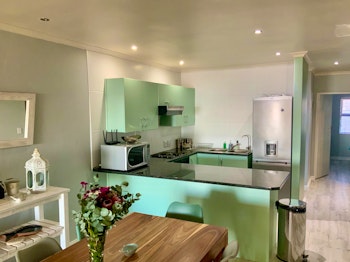
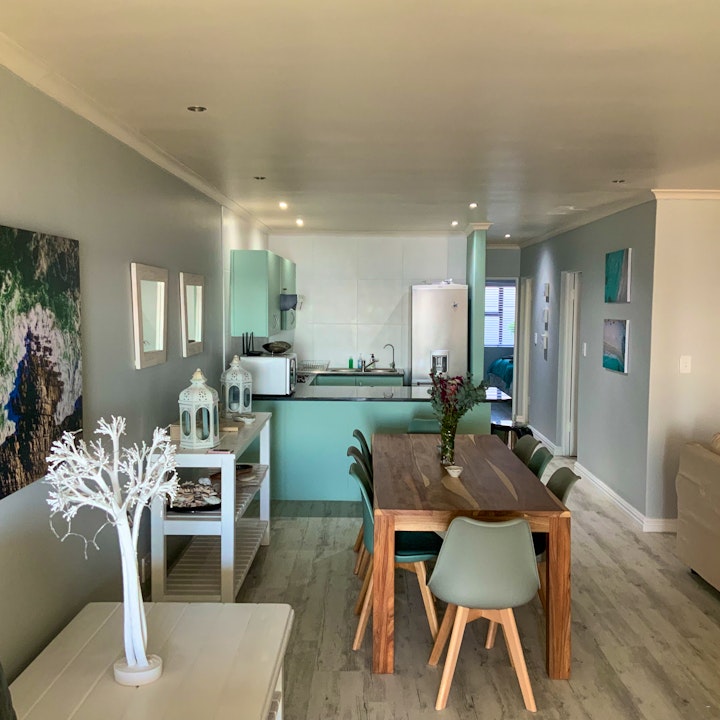
Self Catering
Location
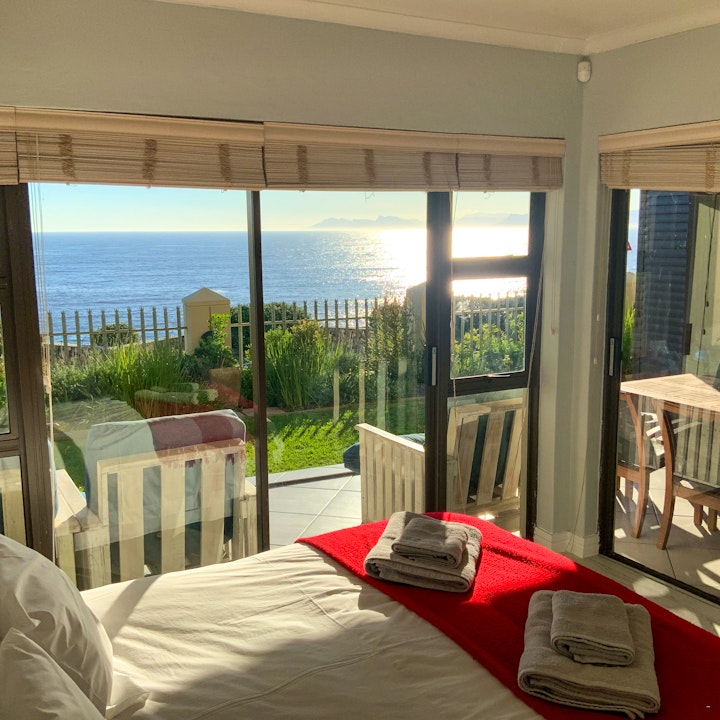
- Guests think Sage at Whale Cove is in an excellent location
- 93 Cliff Street, De Kelders, 7220, Western Cape
- Free cancellation up to 1 week before your stay!
- Capacity: 6 people
-
Check-in: 15:00 to 23:00
Check-out: 10:00 - Address: 93 Cliff Street, De Kelders, 7220, Western Cape
- All ages welcome